
Zend Framework2 会员管理项目之四: 用户列表分页功能
2014年03月09日
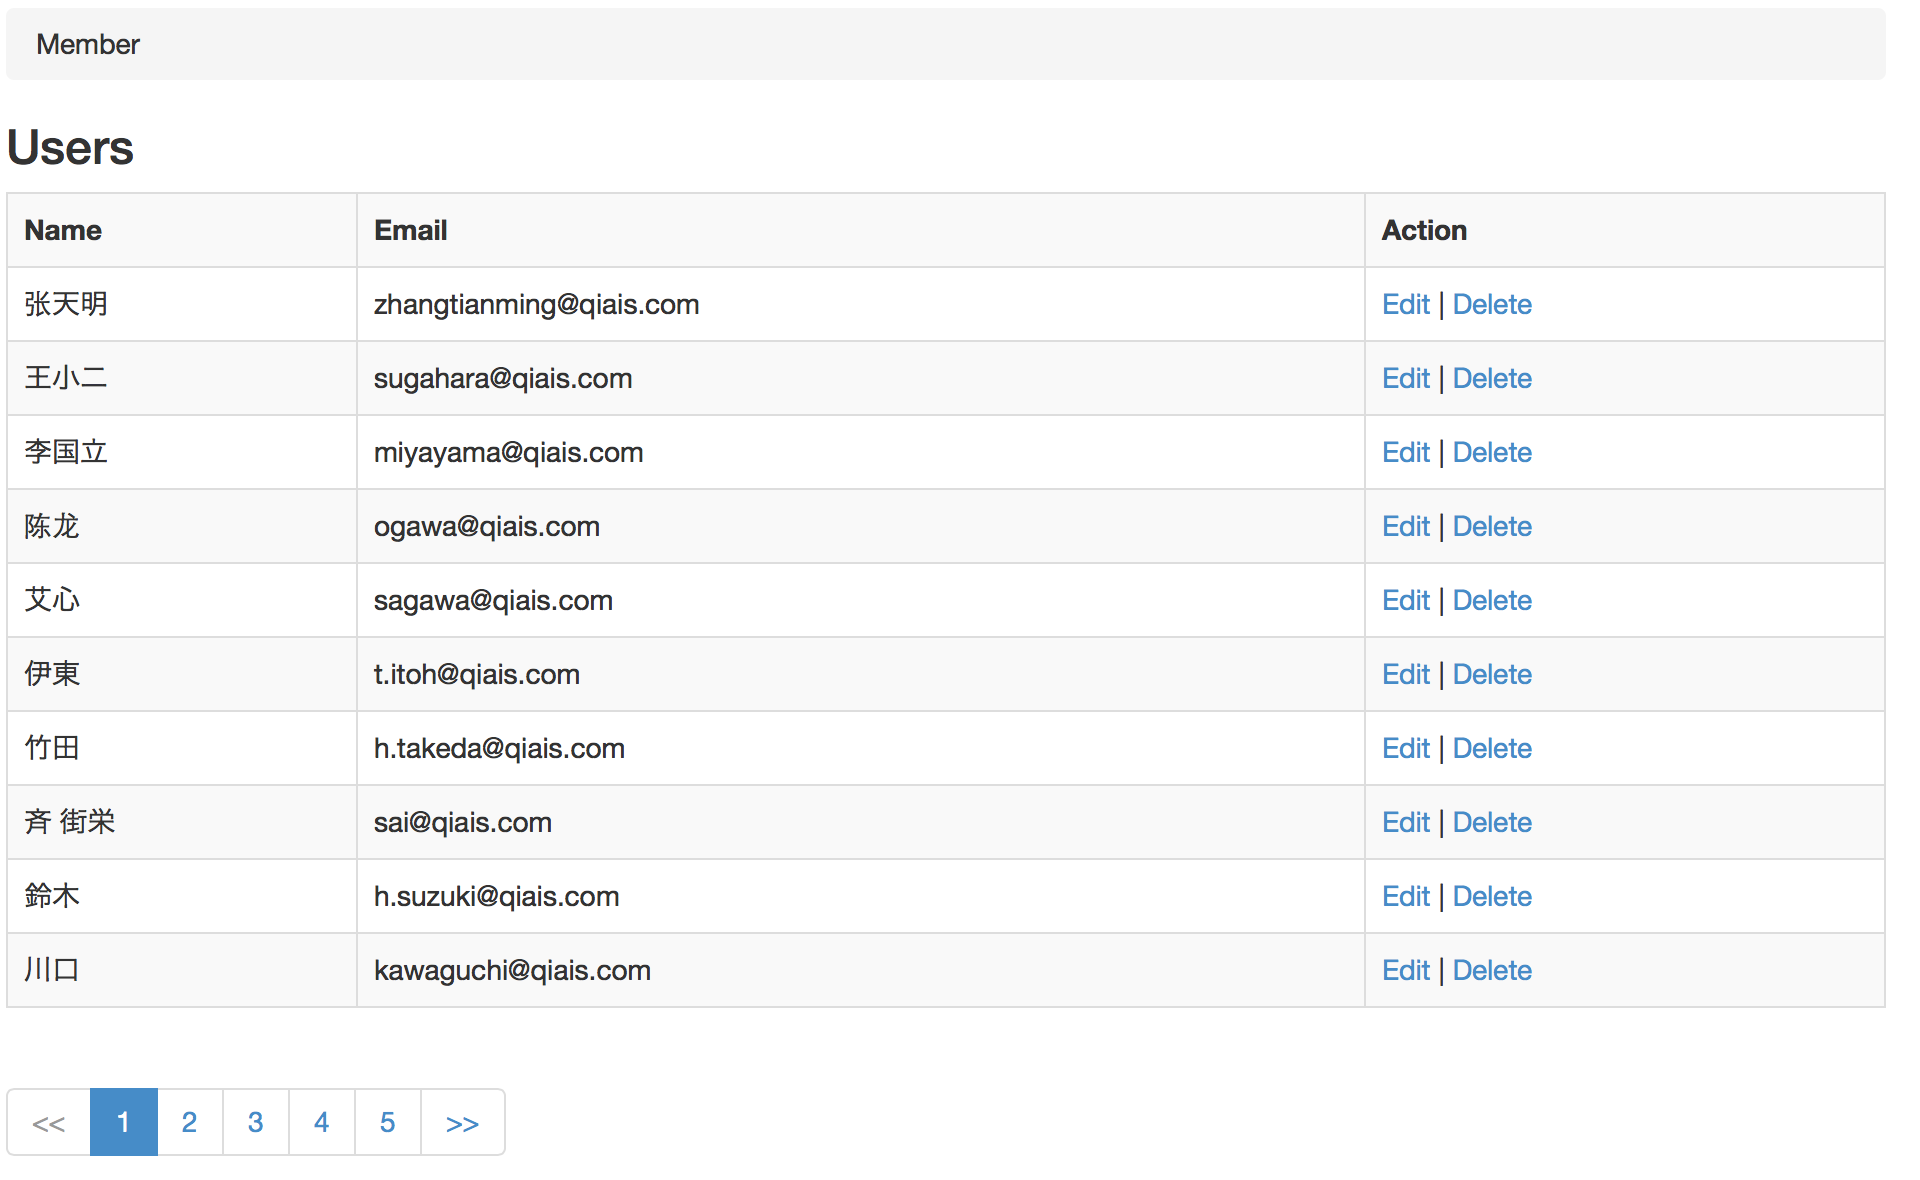
zend framework 2 的分页功能变得很简单又方便!这里介绍会员管理项目的分页显示功能。界面如下:
步骤一:修改module/Member/src/Member/Model/UserTable.php
    public function fetchAll($paginated=false)
    {
        if ($paginated) {
             $select = new Select('users');
             $resultSetPrototype = new ResultSet();
             $resultSetPrototype->setArrayObjectPrototype(new User());
             $paginatorAdapter = new DbSelect(
                 $select,
                 $this->tableGateway->getAdapter(),
                 $resultSetPrototype
             );
             $paginator = new Paginator($paginatorAdapter);
             return $paginator;
        }
        $resultSet = $this->tableGateway->select();
        return $resultSet;
    }
这里我们先创建了一个Select实例,select实例的limit与where会控制我们每页需要显示的数量及条件,然后创建DbSelect分页适配器去自动加载此实例。返回的结果与我们不使用分页时一样,都是User的实例列表。
步骤二:修改module/Member/src/Member/Controller/UserController.php
    public function indexAction()
    {
        // for pagination
        $userTable = $this->getServiceLocator()->get('UserTable');
        $paginator = $userTable->fetchAll(true);
        // set the current page to what has been passed in query string, or to 1 if none set
        $paginator->setCurrentPageNumber((int) $this->params()->fromQuery('page', 1));
        // set the number of items per page to 10
        $paginator->setItemCountPerPage(10);

        return new ViewModel(array(
            'paginator' => $paginator
        ));

        // for no pagination
        //$userTable = $this->getServiceLocator()->get('UserTable');
        //$viewModel  = new ViewModel(array('users' => $userTable->fetchAll()));
        //return $viewModel;
    }
步骤三:更新module/Member/view/member/user/index.phtml
<h3>Users</h3>
<table class="table table-bordered table-striped">
<tr>
    <th>Name</th>
    <th>Email</th>
    <th>Action</th>
</tr>
<?php
    /*foreach ($users as $user) : */
    foreach ($paginator as $user) :
?>
<tr>
    <td><?php echo $this->escapeHtml($user->name);?></td>
    <td><?php echo $this->escapeHtml($user->email);?></td>
    <td>
        <a href="<?php echo $this->url('member/user',
            array('action'=>'edit', 'id' => $user->id));?>">Edit</a> |
        <a href="<?php echo $this->url('member/user',
            array('action'=>'delete', 'id' => $user->id));?>" onclick="return confirm('Are you sure?')">Delete</a>
    </td>
</tr>
<?php endforeach; ?>
</table>
 <?php
 echo $this->paginationControl(
     $this->paginator,
     'sliding',
     array('partials/paginator.phtml', 'User'),
     array('route' => 'member/user')
 );
 ?>
<hr />
步骤四:创建分页功能的部件
在module/Application/view下新建partials文件夹,然后在partials里面创建paginator.phtml文件,内容如下:
<?php if ($this->pageCount): ?>
 <div>
     <ul class="pagination">
         <!-- Previous page link -->
         <?php if (isset($this->previous)): ?>
             <li>
                 <a href="<?php echo $this->url($this->route); ?>?page=<?php echo $this->previous; ?>">
                     <<
                 </a>
             </li>
         <?php else: ?>
             <li class="disabled">
                 <a href="#">
                     <<
                 </a>
             </li>
         <?php endif; ?>

         <!-- Numbered page links -->
         <?php foreach ($this->pagesInRange as $page): ?>
             <?php if ($page != $this->current): ?>
                 <li>
                     <a href="<?php echo $this->url($this->route);?>?page=<?php echo $page; ?>">
                         <?php echo $page; ?>
                     </a>
                 </li>
             <?php else: ?>
                 <li class="active">
                     <a href="#"><?php echo $page; ?></a>
                 </li>
             <?php endif; ?>
         <?php endforeach; ?>

         <!-- Next page link -->
         <?php if (isset($this->next)): ?>
             <li>
                 <a href="<?php echo $this->url($this->route); ?>?page=<?php echo $this->next; ?>">
                     >>
                 </a>
             </li>
         <?php else: ?>
             <li class="disabled">
                 <a href="#">
                     >>
                 </a>
             </li>
         <?php endif; ?>
     </ul>
 </div>
<?php endif; ?>